Adding Google Tag Manager to a Shopify Store
Last Updated / Reviewed: Jan 10th, 2025
Execution Time: ~5-10 minutes
Goal: To add Google Tag Manager to a Shopify store.
Ideal Outcome: Google Tag Manager is properly installed without any technical issues.
Prerequisites or requirements: You need to have Google Analytics on your store.
Why this is important: Google Tag Manager is a great tool to add and manage multiple pixels and tracking codes without needing to edit the code of a site.
Where this is done: In your Shopify admin panel and Google Tag Manager.
When this is done: Only once—the first time you install Google Tag Manager.
Environment Setup
- Download and install the Google Tag Assistant Chrome Extension (Free)
Grab your Google Tag Manager container code
a) If you don’t have a Google Tag Manager account yet:
- Sign up for Google Tag Manager (Free):
a. You’ll need to log in to your Google account.
b. You’ll be prompted to set up a Google Tag Manager account right away.
- You can just use your company/website name for both the account and container.
Under “Where to Use Container”, select “Web”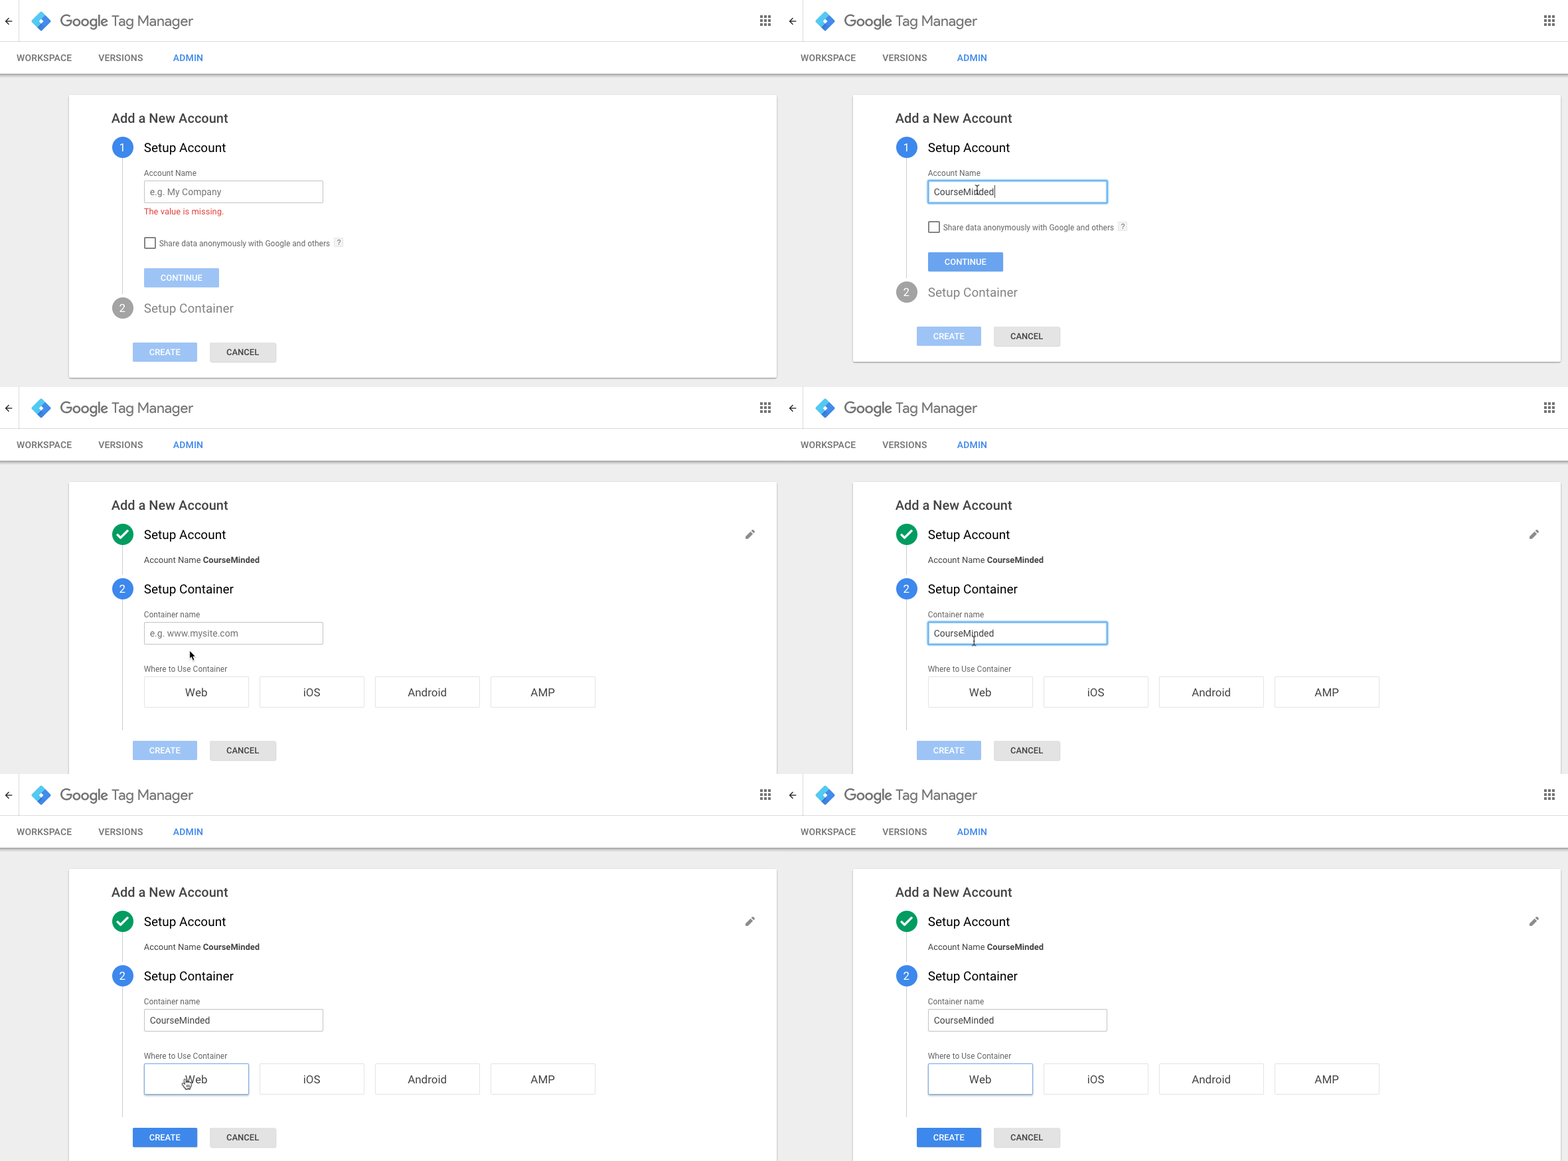
c. Accept the terms and conditions.
d. You will see your Google Tag Manager code.
d1. Copy the code without the <script></script> tags, you will need it for the next chapter.
d2. Below that you will find another piece of code copy the whole code including the <noscript> tags, you will also need it for the next chapter.
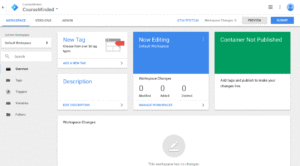
e. Once you are in your Workspace, click on Submit > Publish > Continue to publish your Google Tag Manager container:
b) If you already have a Google Tag Manager account:
- Log into your Google Tag Manager account;
- On the top header click “Admin” → “Install Google Tag Manager”

3. Copy the code between the <script></script> tags (do not copy those tags). You will need it in the next chapter.
Important: pay attention to the section of the code being copied. You’ll need to exclude the “<script>” and “</script>” tags to follow this process.
4. Below the first snippet of code, you will have a second one, this time copy all the code (including the <noscript> tags. You will also need it for the next chapter. 
Adding Google Tag Manager to your Shopify Store
Note: This method allows you to add Google Tag Manager to your whole website in contrast to the official documentation that would only allow you to add GTM to the non-checkout pages unless you are a Shopify Plus customer.
If you are a Shopify Plus customer, follow the official documentation laid out here.
- Log into your Shopify store.
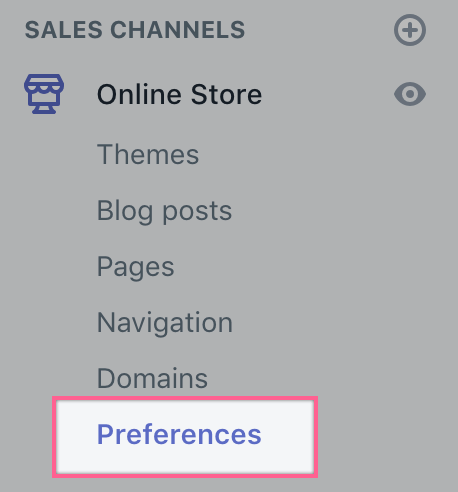
- On the sidebar, under “Online Store” click “Preferences”.
- Click “Add custom JavaScript to Google Analytics.

- Paste the section of code you got from the previous chapter.
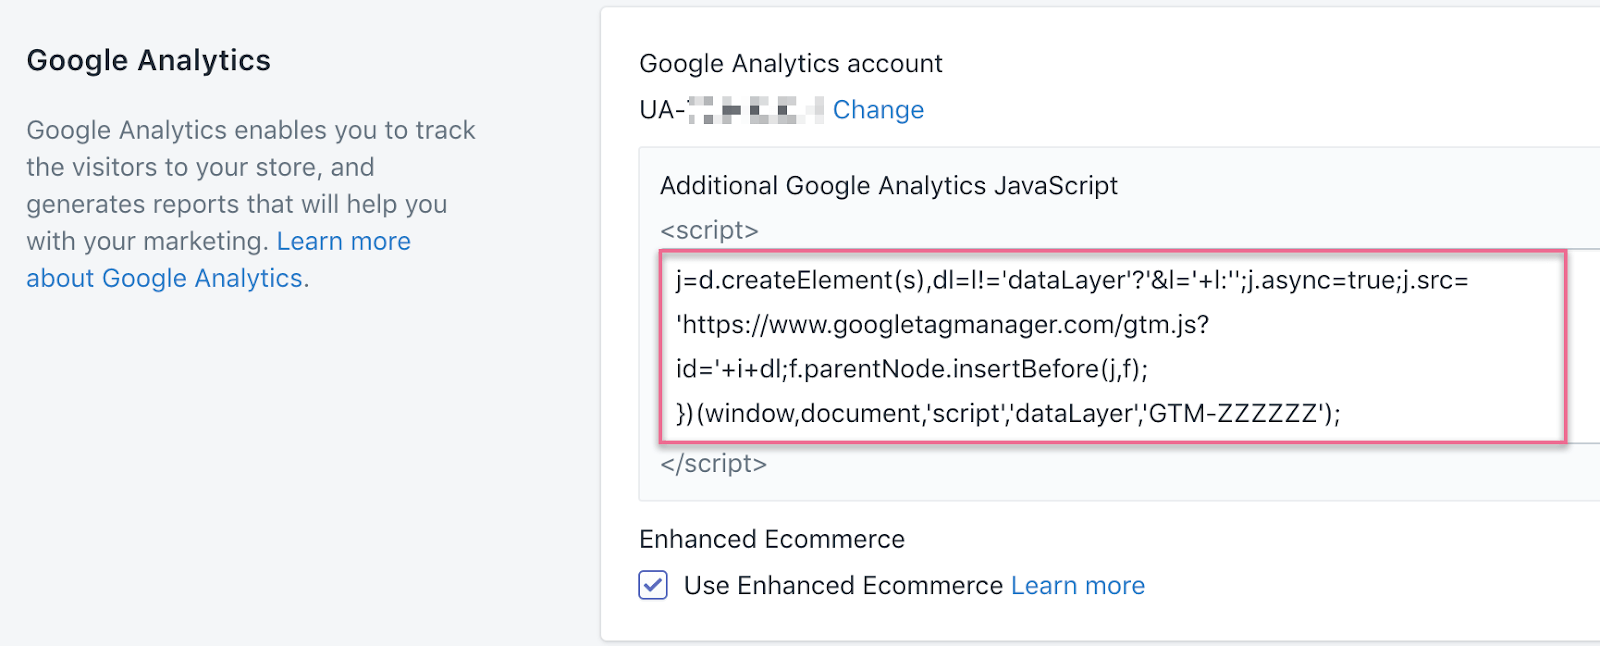
- Click “Save”
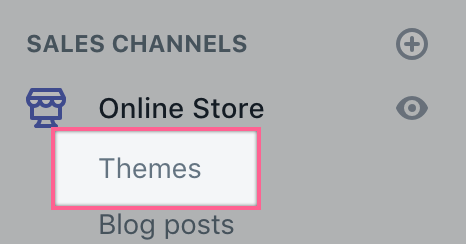
- On the sidebar, under “Online Store” click “Themes”:
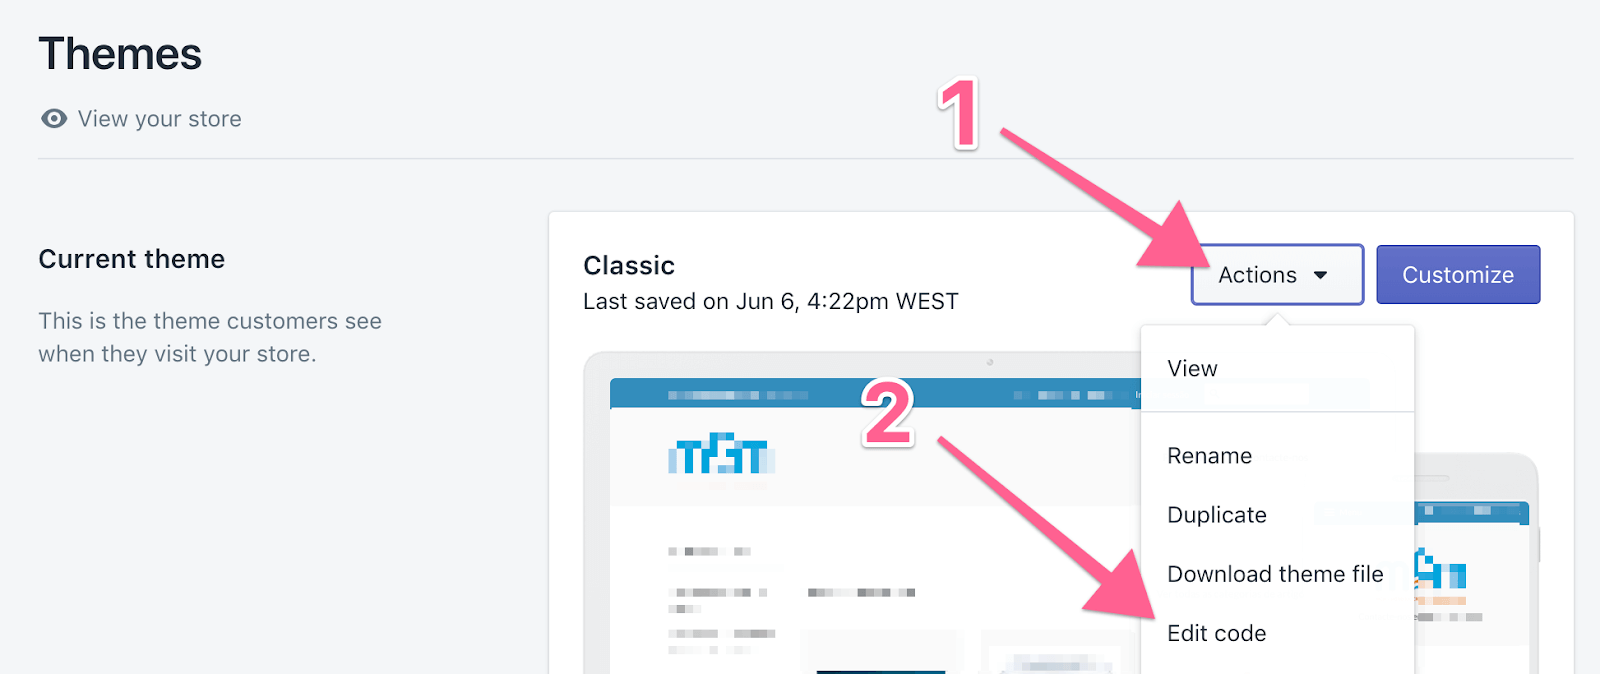
- Click “Actions” → “Edit Code”
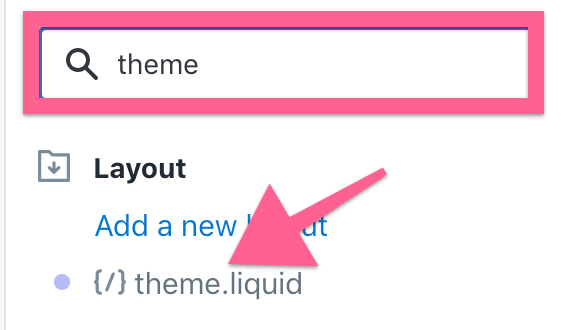
- On the search bar, search for “theme.liquid” → Click “theme.liquid”
- Locate a section of the code that starts with “<body” you can either scroll down until you find it or you can just use your browser’s search feature (typically Ctrl+F for PC, and ⌘+F for Mac) → Paste the second snippet of code that you got from Google Tag Manager (the one that contains the <noscript> tag) in there:

Example:

10. Click “Save” in the top right corner:
QA-ing your installation
- Open your website homepage using Chrome.
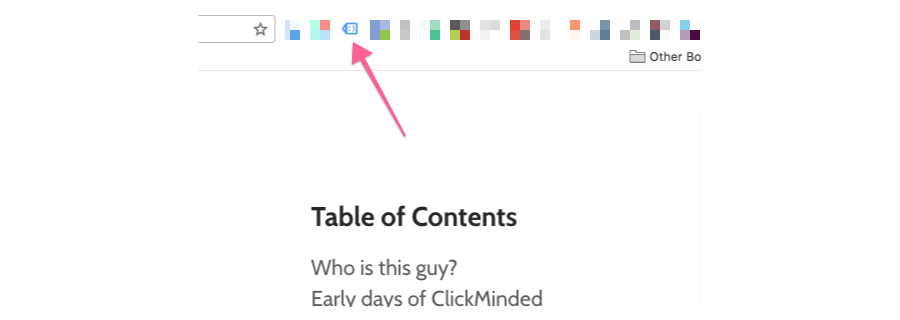
- Click on the Google Tag Assistant Chrome Extension
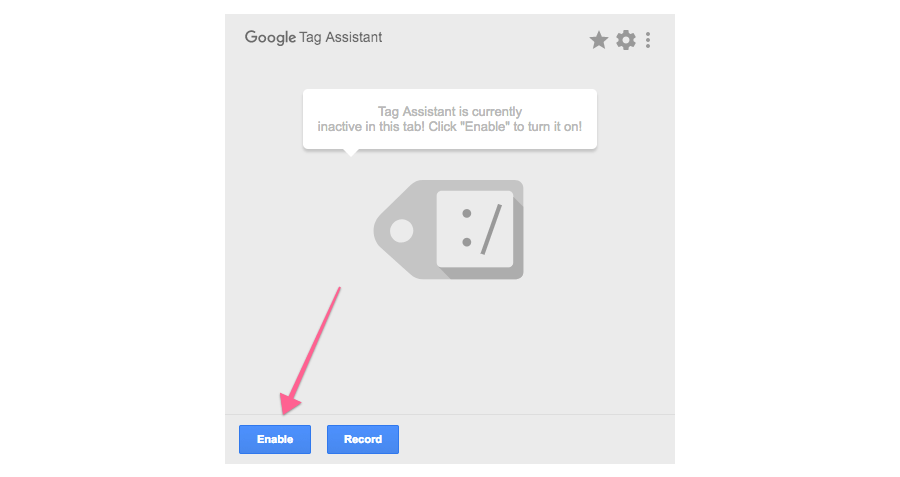
- Click on “Enable”
- Refresh the page and click on the Google Tag Assistant Chrome Extension again
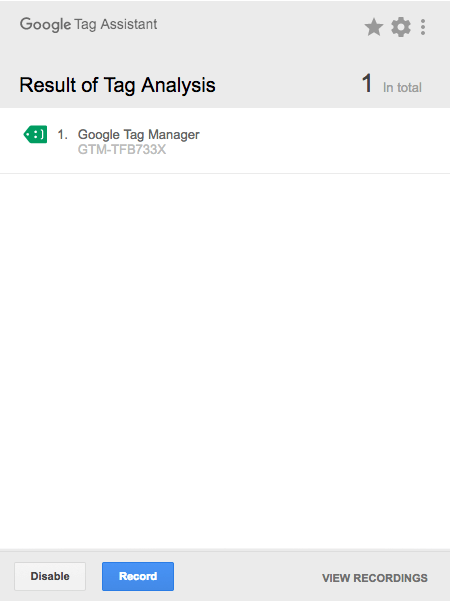
- You should see a green tag for Google Tag Manager, indicating that the installation was successful.
